
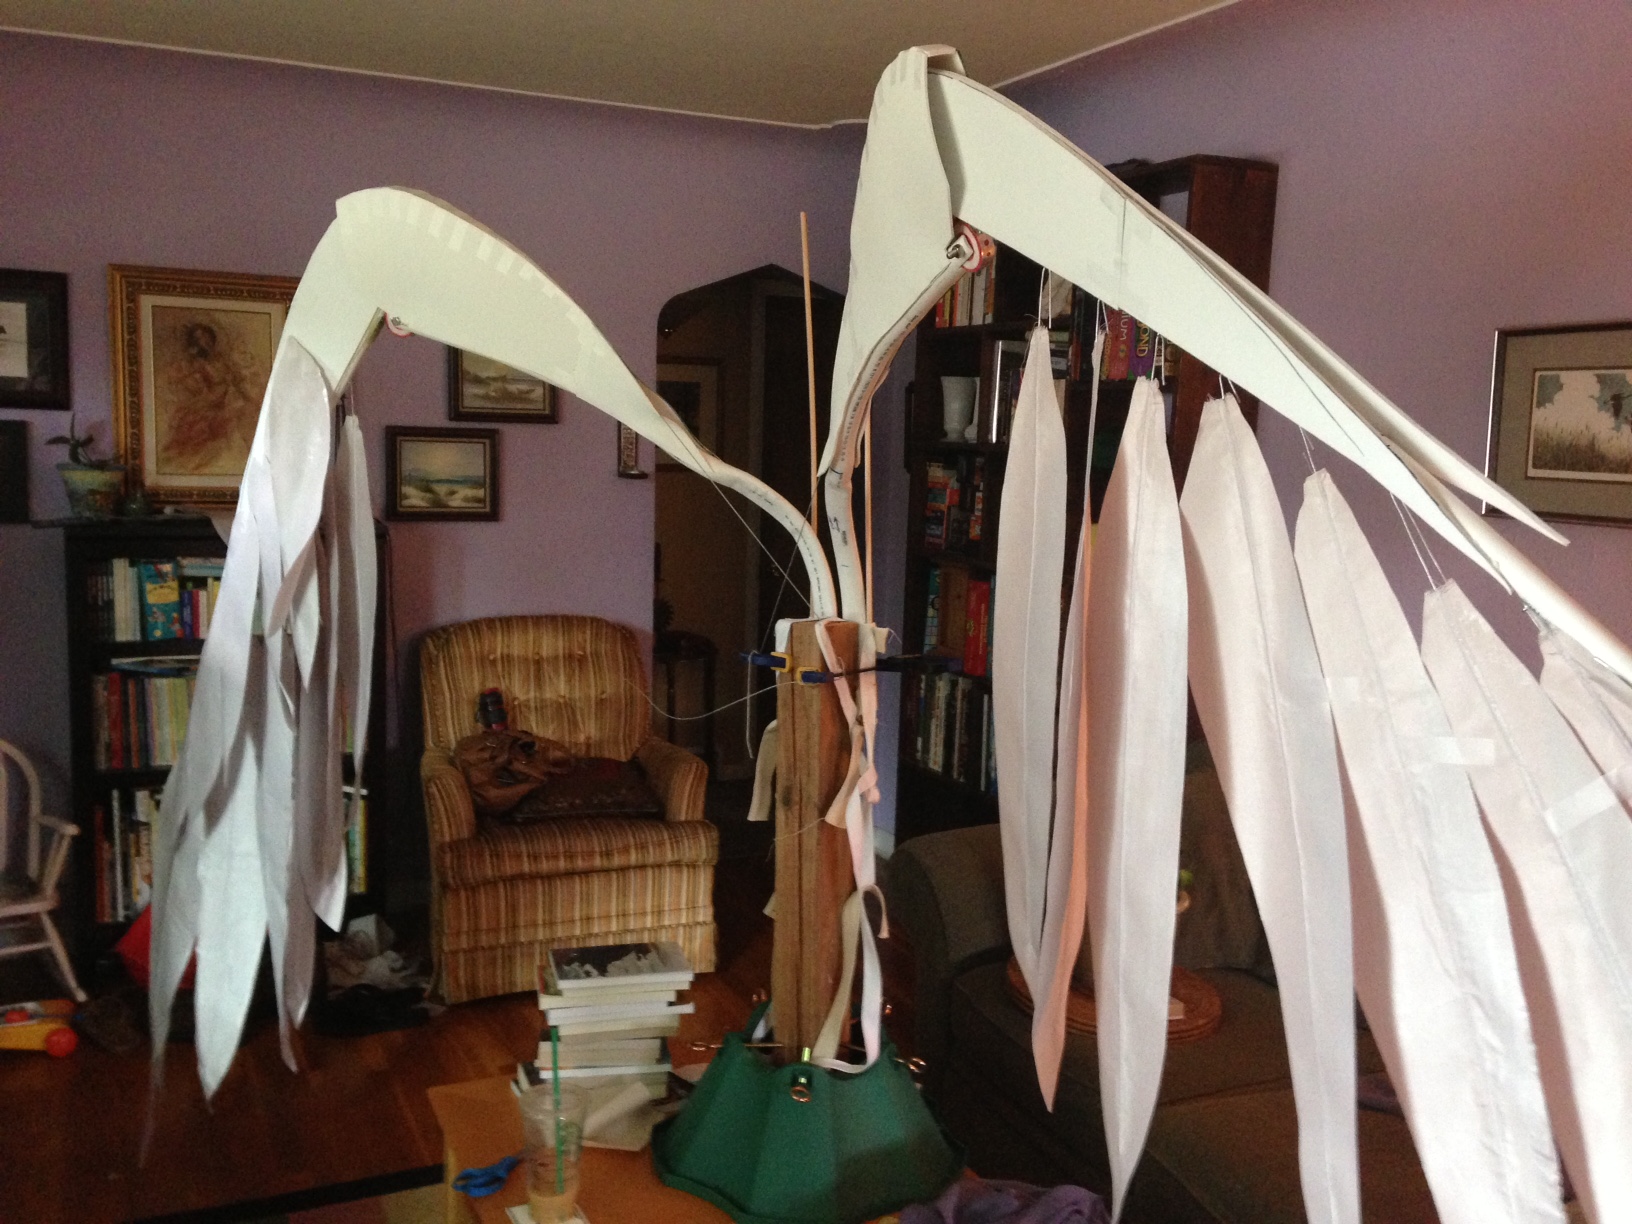
Hey look! It’s part two! We talked about the basic structure of the wings in part one. But having a wing skeleton won’t do you any good if you can’t strap it to your back. That’s what we’re going to talk about in this post. Behold, the wing harness!!!

Yeeeeah… it’s not very impressive when it’s not on a person. There are two parts to the harness: the strapping and the slots. In an effort to make these posts a little more bite-sized (for you, but also for me), we’ll talk about the straps in this post. The pic above is hard to make sense of, so here’s a spiffy color-coded version of the picture:

This is what the wing harness strapping looks like on Kavi, also with handy-dandy color-coding:

It ought to be noted that the strap we’ve asked you to ignore (with the loops sticking up on top of the shoulders) was not on the finished product. It was there temporarily until we figured out something better. But we’ll get to that in a later post.
What you’ll need to make the Harness
To make the wing harness, you’ll need:
- 1 really long strap for the shoulders and back. This makes up the majority of the harness strapping
- 2 side straps – to go down either side of the harness
- 1 waist strap
- 2 leg straps – to go around both legs
First off, we used cotton strapping from the fabric store in two different sizes: 1 inch (the white strapping) and 1 1/2 inch (the tan strapping). Cotton is pretty easy to work with, but it can stretch when worn or shrink when washed. If you want to use something more robust than cotton, feel free to use what you want.
Secondly, I can’t give you exact measurements, because this will change depending upon the person who is wearing the harness. Bust out your measuring tape, and wrap it around yourself!
With that said, we’ll start with the shoulders.
Making the Wing Harness – Shoulder Straps
The shoulder straps are made like this:

It’s kinda like a pretzel. The strap starts across the back, goes under the arm pit and then over the shoulder. The two ends of the strap cross the back in a big “X” and go down to the SIDE of the upper thigh.
I say “SIDE” because you don’t want the strap to go over your butt. You want to keep your butt unobstructed so you can sit down without messing up the harness.

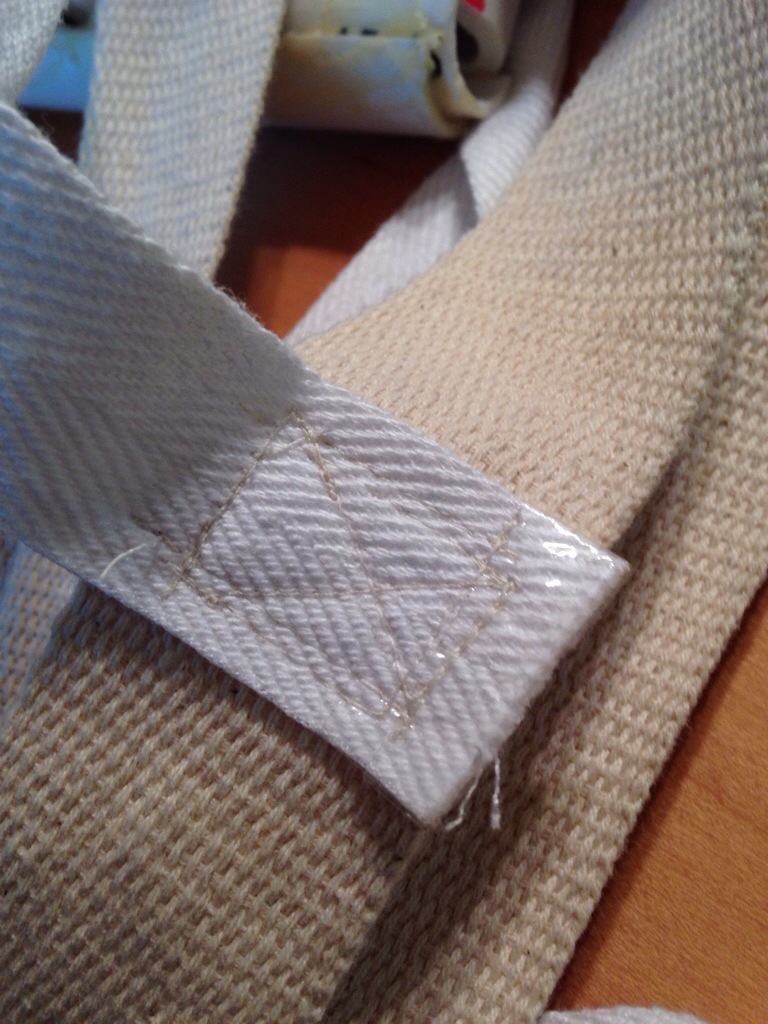
So, at the SIDE of the upper thigh, the ends of the long shoulder strap attach to the leg straps, like so:

The picture to the right is pretty zoomed in, so in case it isn’t clear, the strapping is attached to the leg strap in a “T” shape (perpendicularly). I just wanted to show off Bee’s fancy-pants, uber secure stitching.
Note: Keep in mind where you want the leg straps to fasten. I’d recommend them fastening in the front. Don’t just attach the side straps to the middle of the leg straps.
Making the Wing Harness – Side Straps
Next, you’ll want to make the two side straps. These attach to the shoulder loops just underneath the armpit, and go down the side to the leg straps.

Note that when the harness is worn, the side straps go under the waist strap. This keeps the side straps fitted close to the body.
This is how we attached the side straps to the shoulder loop. The side strap can freely move along the shoulder strapping. This makes it a bit more adjustable.

Structurally, the side straps pull downward on the shoulder straps to make everything sit more securely on the shoulders. The side straps are anchored to the leg straps at the front of the thigh. The legs are a good anchoring point because don’t have as much of a tendency to ride up like a waist strap would. This anchoring makes everything more snug.
These straps also attach to the SIDE, but more towards the front. Full honesty – we ended up using safety pins to attach the side straps to the leg straps.
Making the Wing Harness – Waist Strap
At this point, everything will be attached except for the waist strap. So, guess what needs to be attached next! You’ll want to secure the waist strap to your harness so that it will fit snugly and naturally at the narrowest point on your torso.
 This next pic is a little funky because all the strapping is glued to the PVC slots, but hopefully it gives you more of an idea of what’s going on.

All your straps have now been assembled! Huzzah! The only detail left for the straps is how you want to fasten the waist strap and leg straps around yo’ bad self. You’ll want them to attach snugly and securely, so I wouldn’t recommend Velcro or snaps. Hooks and eyes are a better bet. Think bra straps – more hooks and eyes for more security.
Again, we ended up just using safety pins. They are a little more complicated to fasten, but they are very adjustable. Diaper safety pins are the best. They’re big and sturdy, and will NOT accidentally unfasten.
Final Notes
Obviously, the straps need to be VERY tailored to the individual who is wearing it. The better the fit, the more secure the wings will be. Some of your strap design will also depend on your costume. In our case, we wanted to avoid heavy straps on the shoulder and around the neck because of the costume’s neckline. We worked hard to make a secure harness straps that couldn’t be seen.
Remember, the straps are only HALF of the harness. The next piece that needs to be made are the PVC slots, which we’ll cover in our next post. These slots are the part of the harness that actually support the wings themselves. The straps are what holds everything in place on your back.
As always, thanks for reading! If there’s anything that’s confusing or needs more explaining, feel free to send us a message on Facebook, or email us directly at laureltreeworkshop at gmail.
And again, let us know if you use anything you read in this post for a costume! Happy sewing!!


I made a harness for my toothless wings. This is literally the best harness ive found for fully automatic wings. I replaced youre pvc slots with the motor, ran the controler wire up my sleeve and fastened it under my glove, to be able to control to wing movement secretly. Anyway my wings move alot as you can imagine, so i needed a snug secure slim harness and yours kicked all the others bums. Thank you for existing and making this tutorial.