
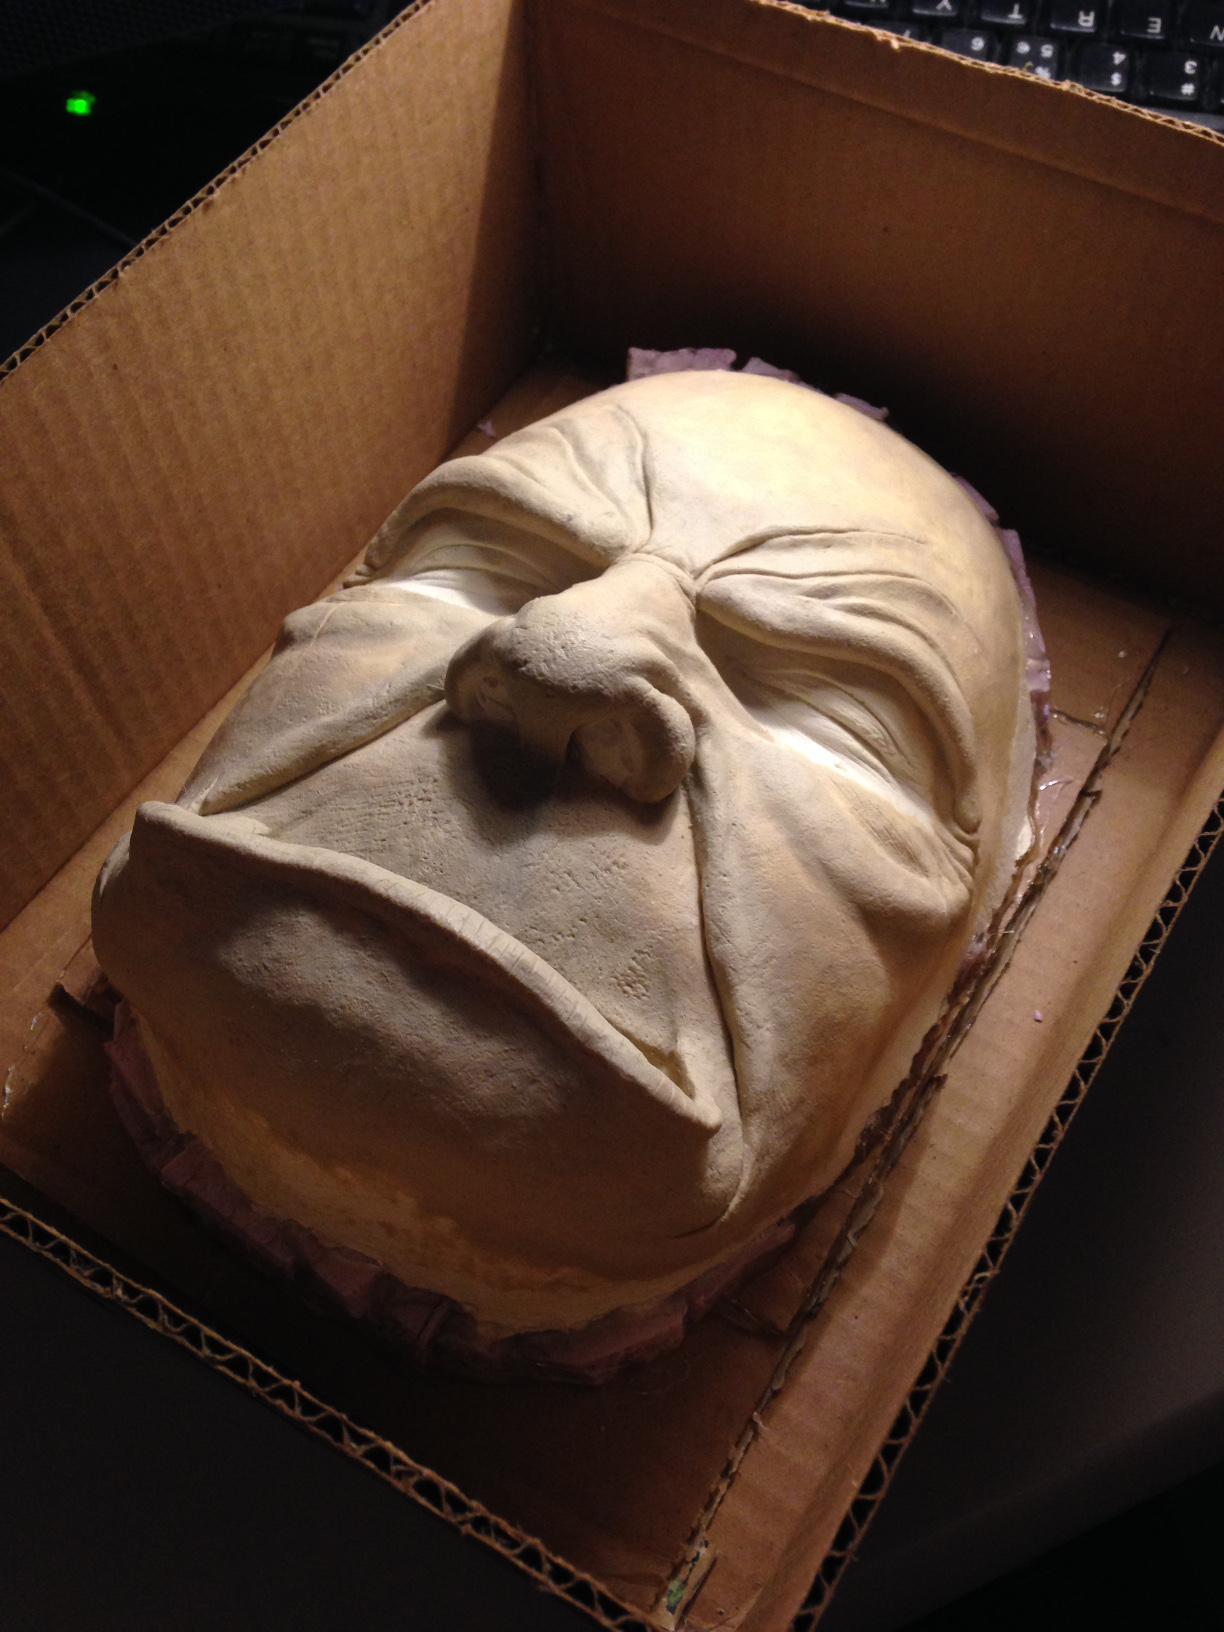
Time for adventures in mold making!
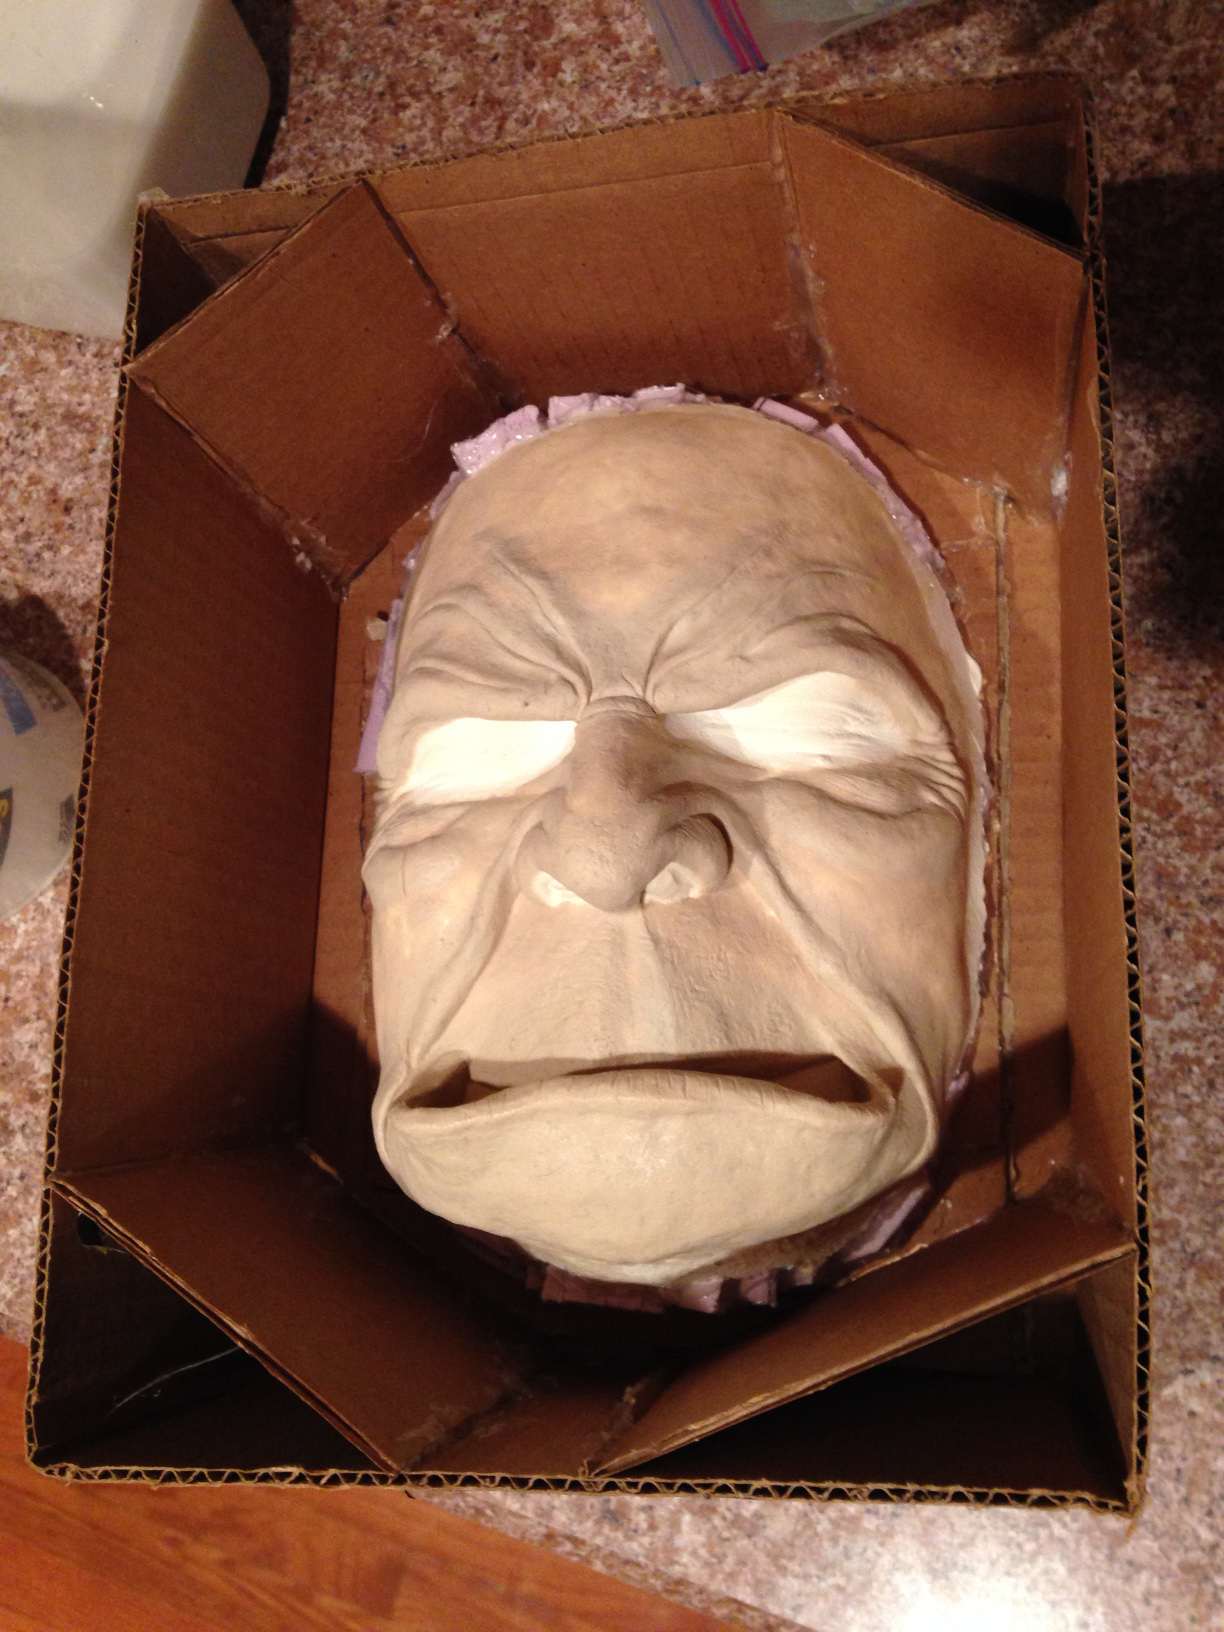
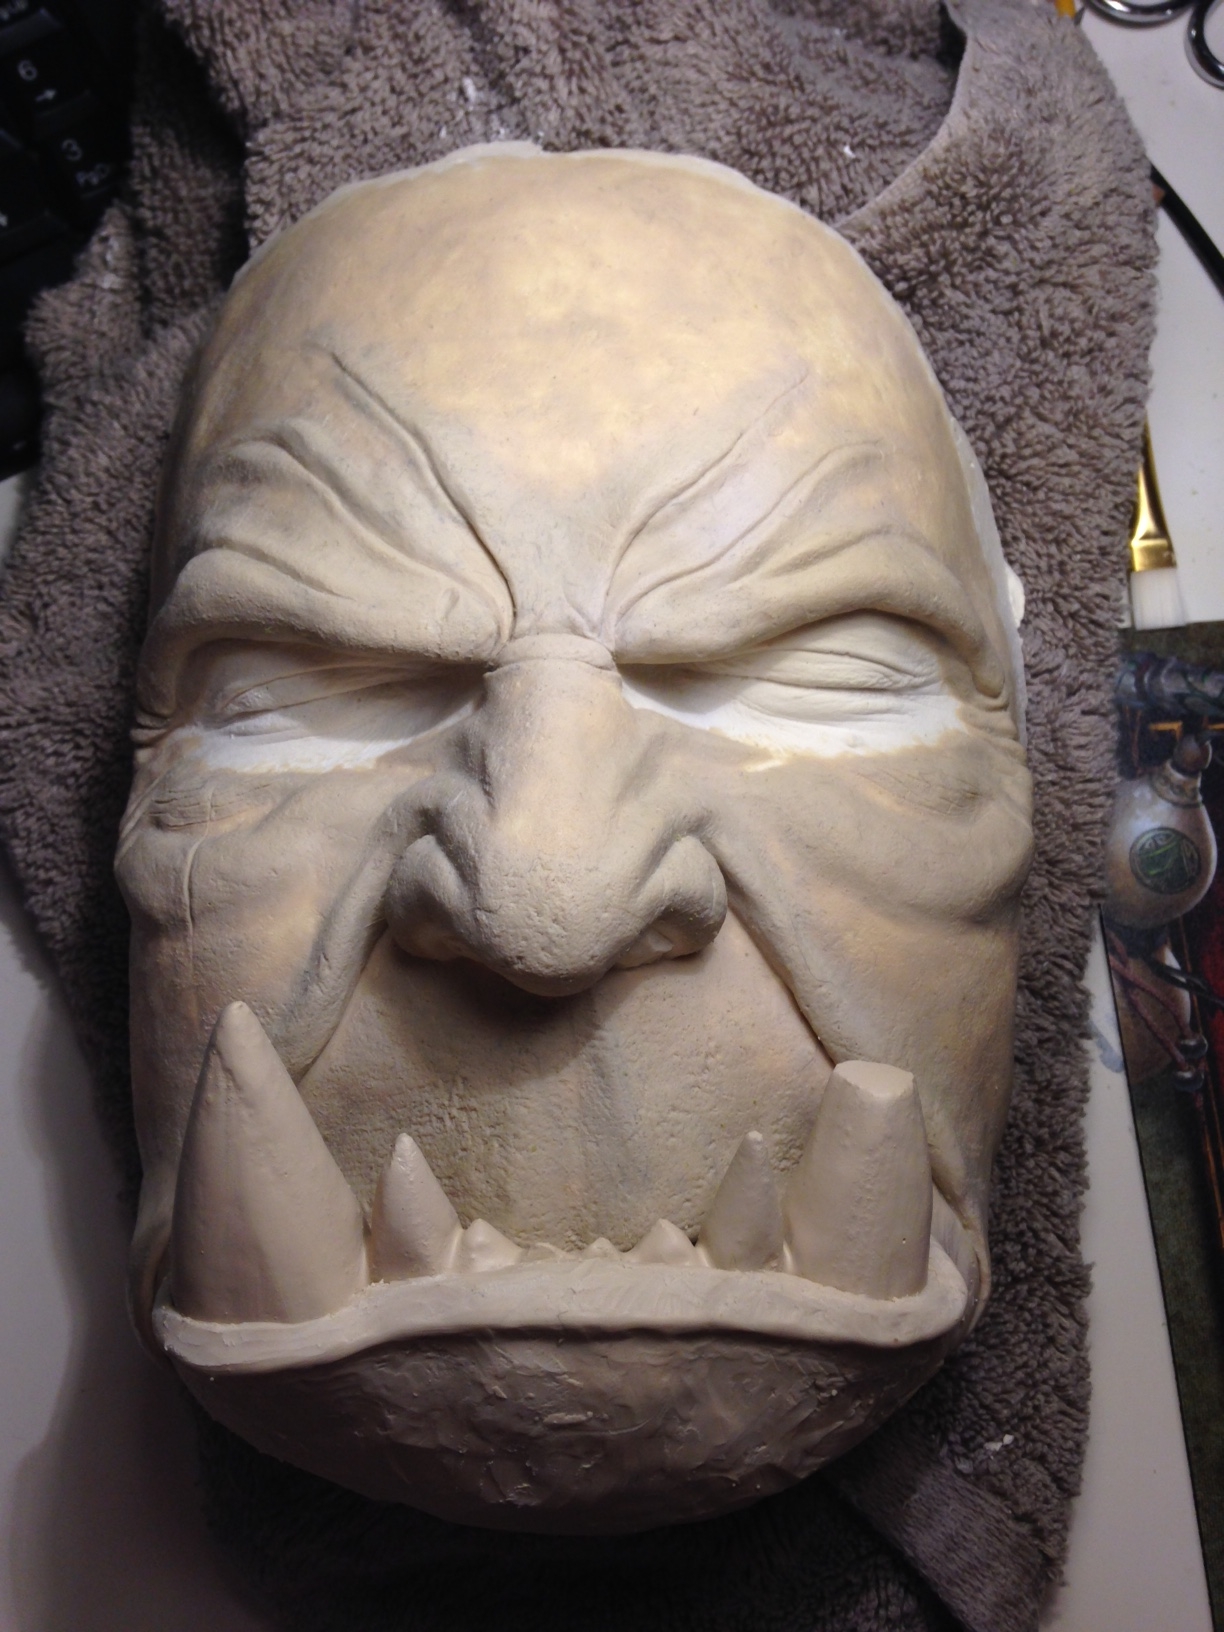
I have the sculpted face. The next step was to make a mold of the face so I can cast the prosthetic. I decided to try a pour mold, so I prepared a nice box to fit around Gul’dan’s face – complete with cut corners to help reduce the amount of material needed.
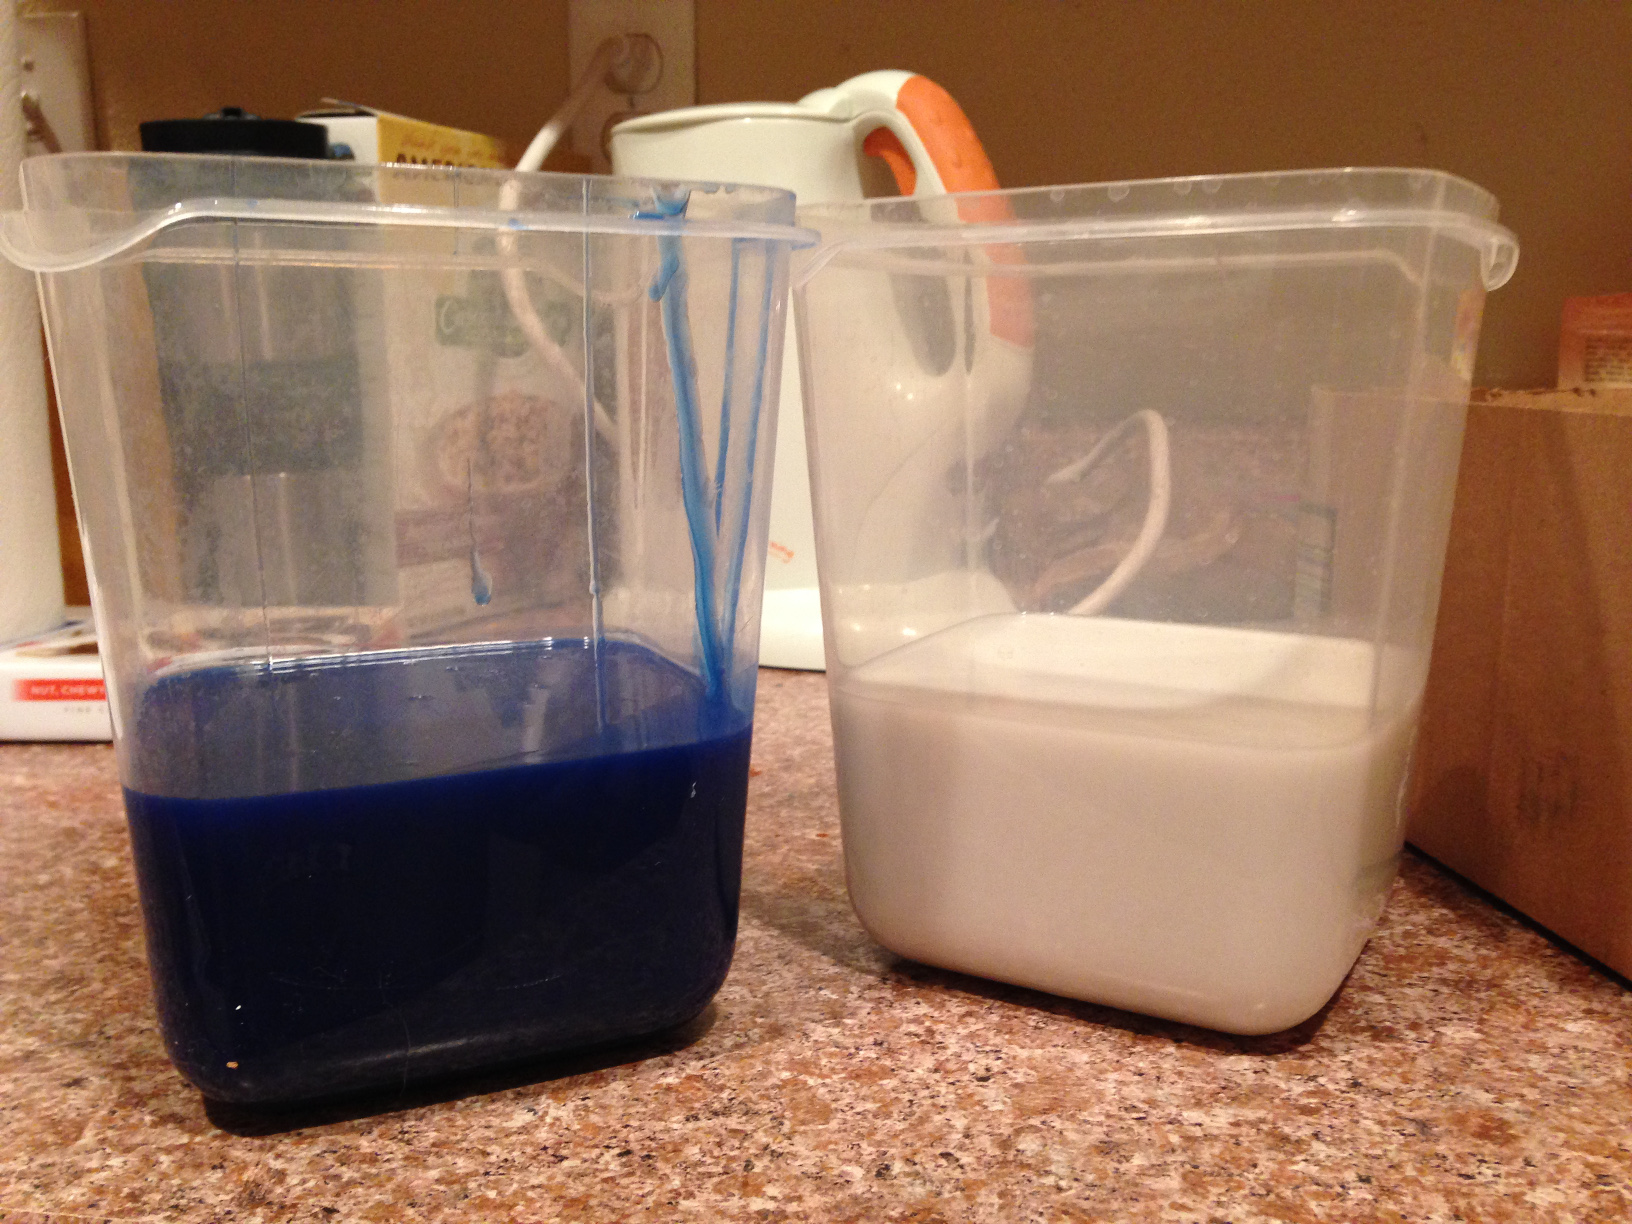
For this mold, I used a silicone material called “Mold Star 30.” It’s pretty easy to use – mix equal parts A and B by volume.
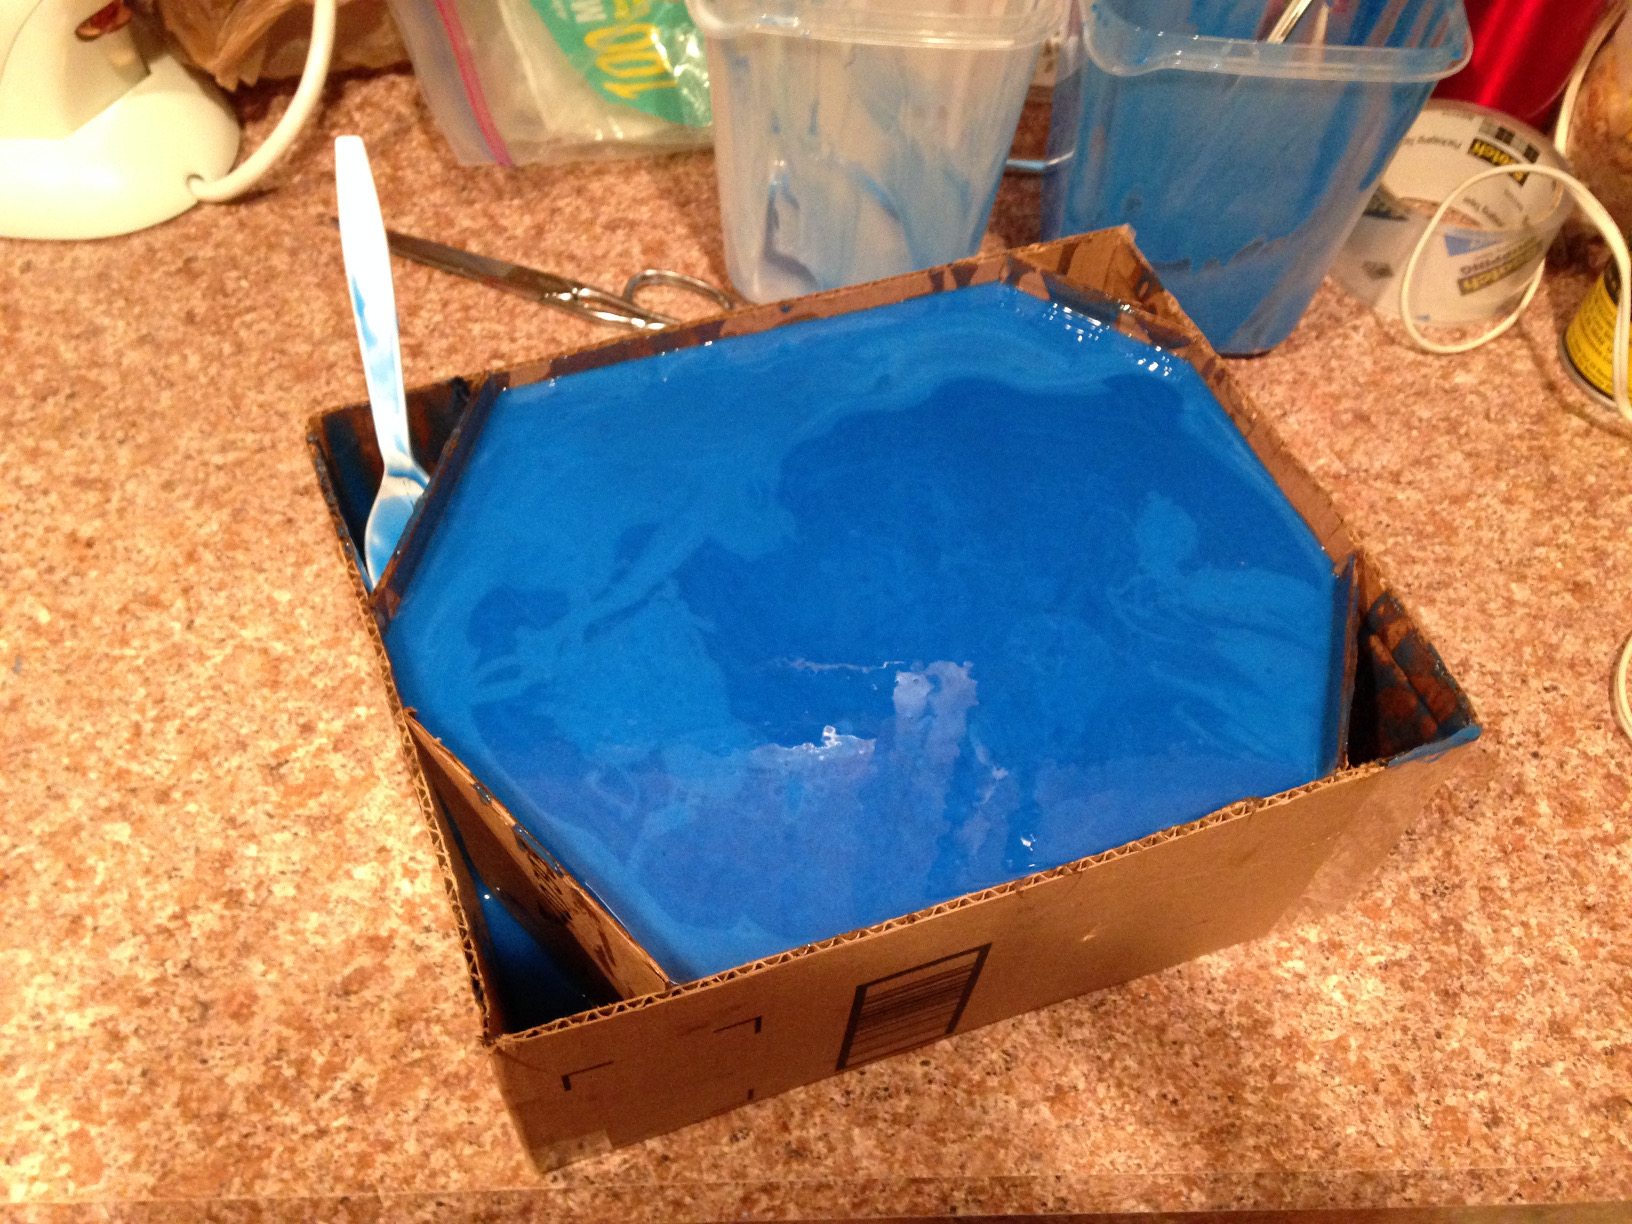
As usual, I seriously underestimated how much material it would take to fill up the box. But Mold Star 30 takes 6 hours to fully cure, which makes it less of a hassle to mix up more. Unfortunately, it *still* took more than I thought it would, and I ran out of material. And this is where things started to go horribly wrong.
At this point, I had a box mostly full of blue goo that would turn into a solid blue lump in 6 hours. A better course of action would be to let the blue goo cure, and then go get more blue goo to add on top of the mold-in-progress. But no. I was impatient and made a bad life choice. I had an old mold from another project, also made of a silicone material. I decided to cut up the old mold and shove those pieces in the blue goo to fill up space. I’ve done this with other molds, and it worked just fine. I added the chunks of old mold until the box was full, and hoped for the best.
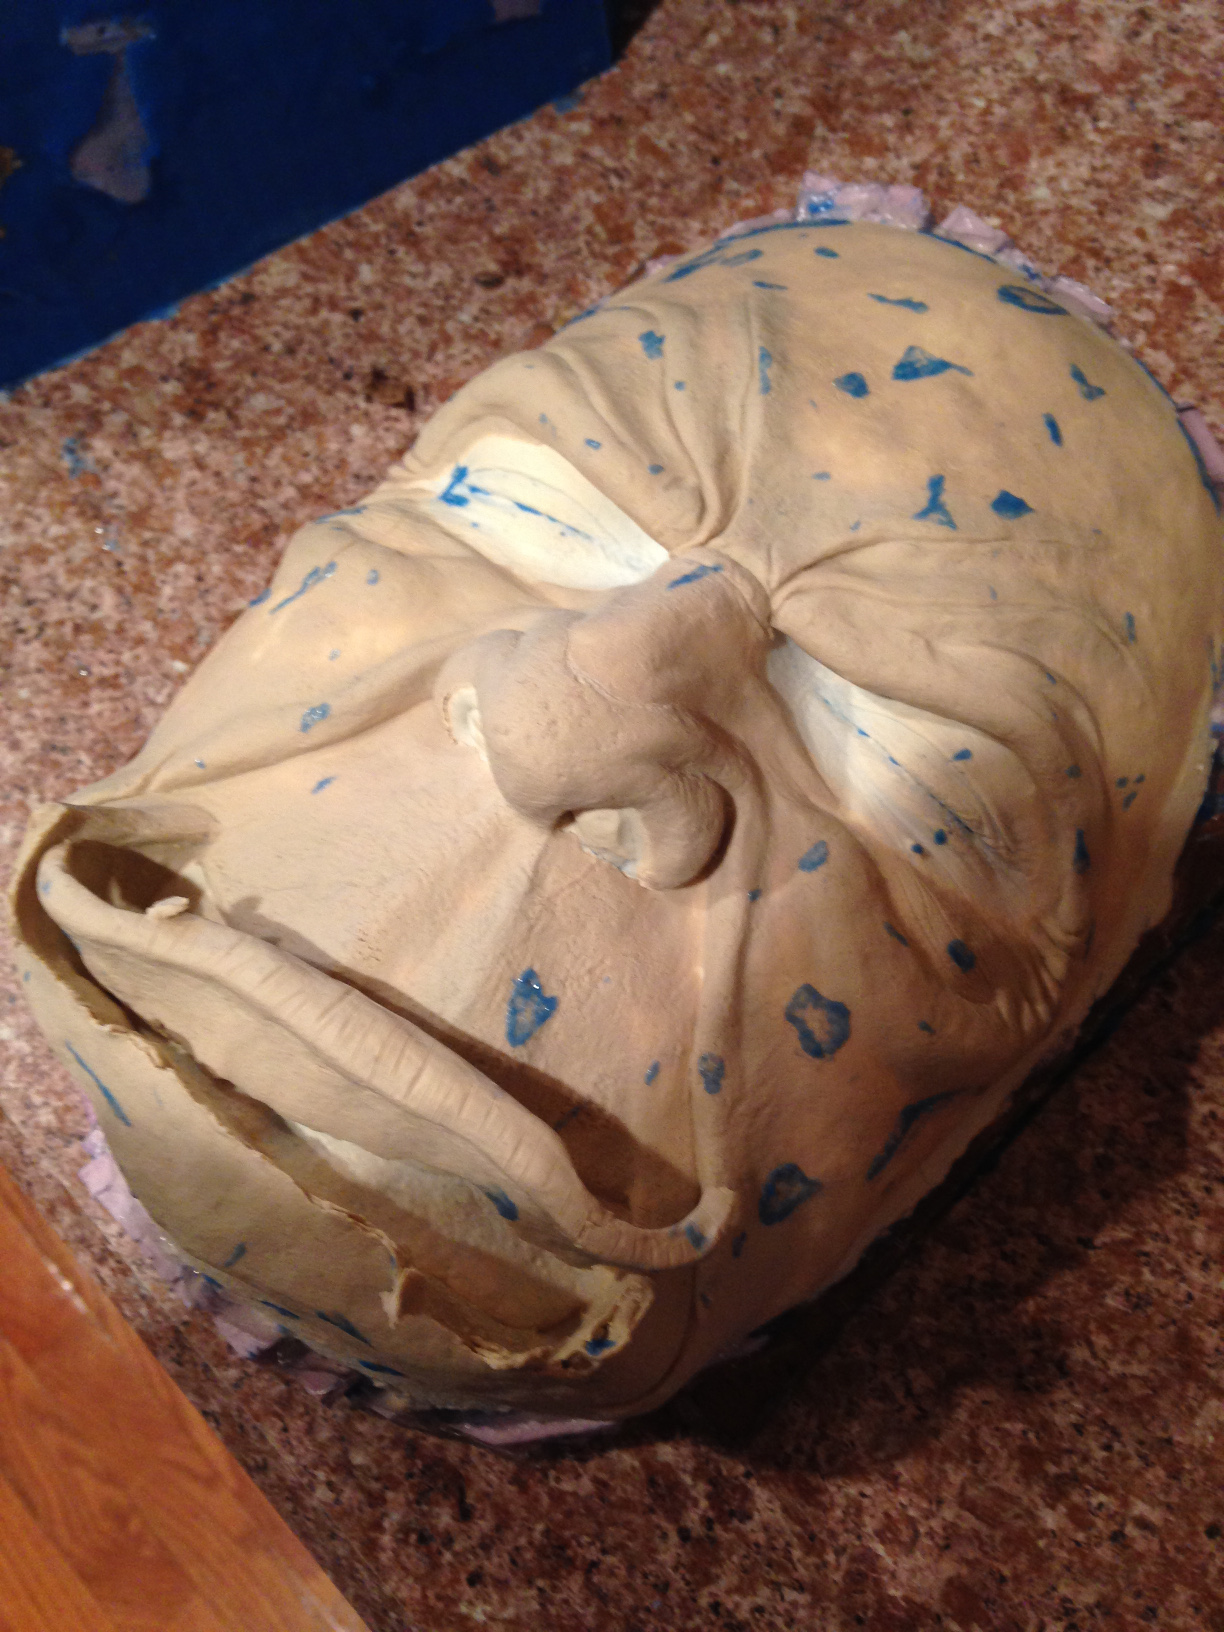
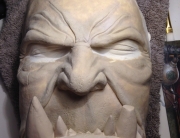
6 hours later, I de-molded Gul’dan’s face. See all those little grey bits in the picture below? Those are each a chunk of the old mold surrounded by a nice little pocket of uncured blue goo, kinda like Fruit Gushers. This is called cure inhibition. It sucks.

So my bad life choice ruined the mold. It left goopy blue pock marks all over Gul’dan’s face. Not only would this mess up the detail of Gul’dan’s skin if I tried to make the prosthetic from this mold, it would run the risk of preventing the prosthetic itself from curing properly.
Just as an aside, I’m deliberately telling you about my failure because I think it’s important to share. Cosplay is full of trail and error. In fact, it’s how you learn how to do things, and how to do them well. It’s really easy to let this kind of setback knock you down to the ground, but it’s crucial to pick yourself back up, dust yourself off, and try again. These things happen. But continuing on in spite of these things makes you a better artist.
And, oh man, I was totally demoralized. But we at Laurel Tree are a stubborn bunch. I trashed the fail-mold, and started the mold process over again. Ultimately, it could have been much worse. The sculpted face wasn’t messed up beyond repair, so at least I didn’t have to start over completely.
For round two, I decided to do a brush mold. Brush molds take less material, but you have to build a shell around it so it holds its shape. I also decided to try a different material: Dragon Skin Pro. Dragon Skin is also a silicone material, and it’s what I’ll use to make the prosthetic itself. It’s flexible and strong, and it also cures in about 40 minutes, which makes the mold making process a lot faster.
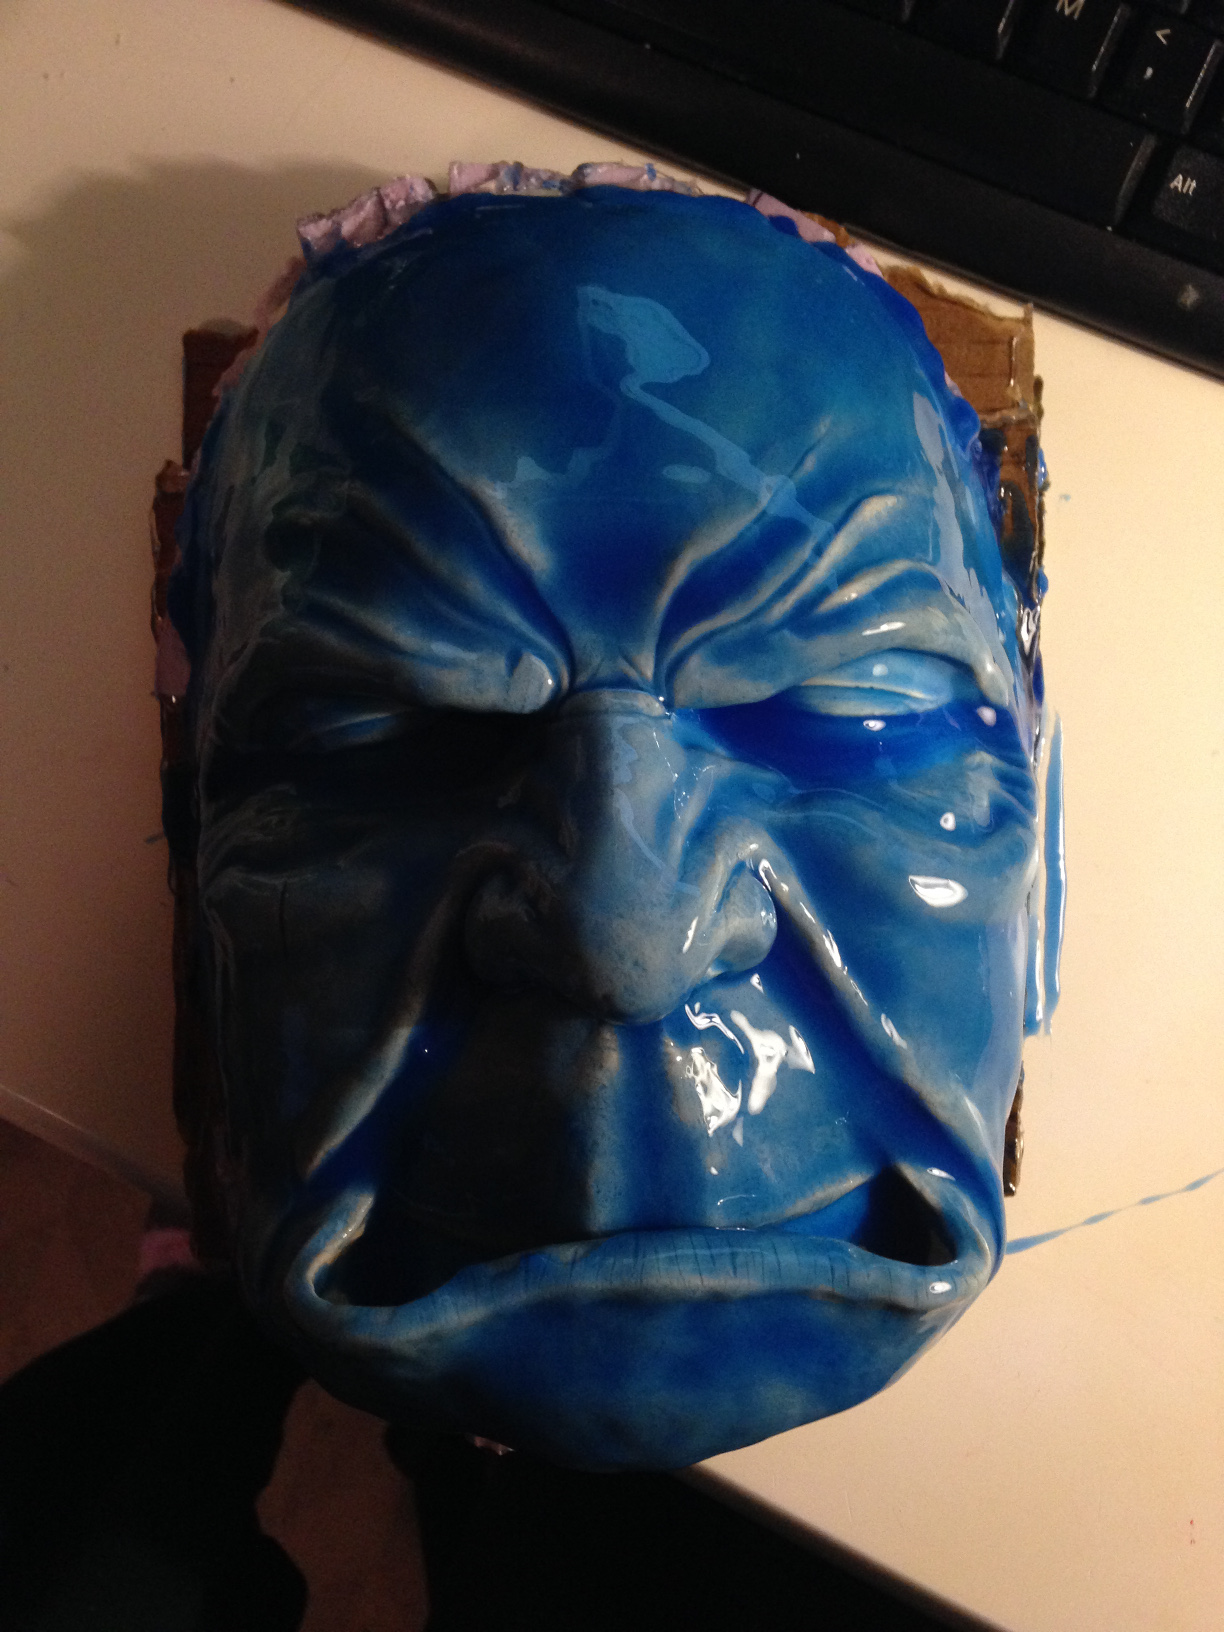
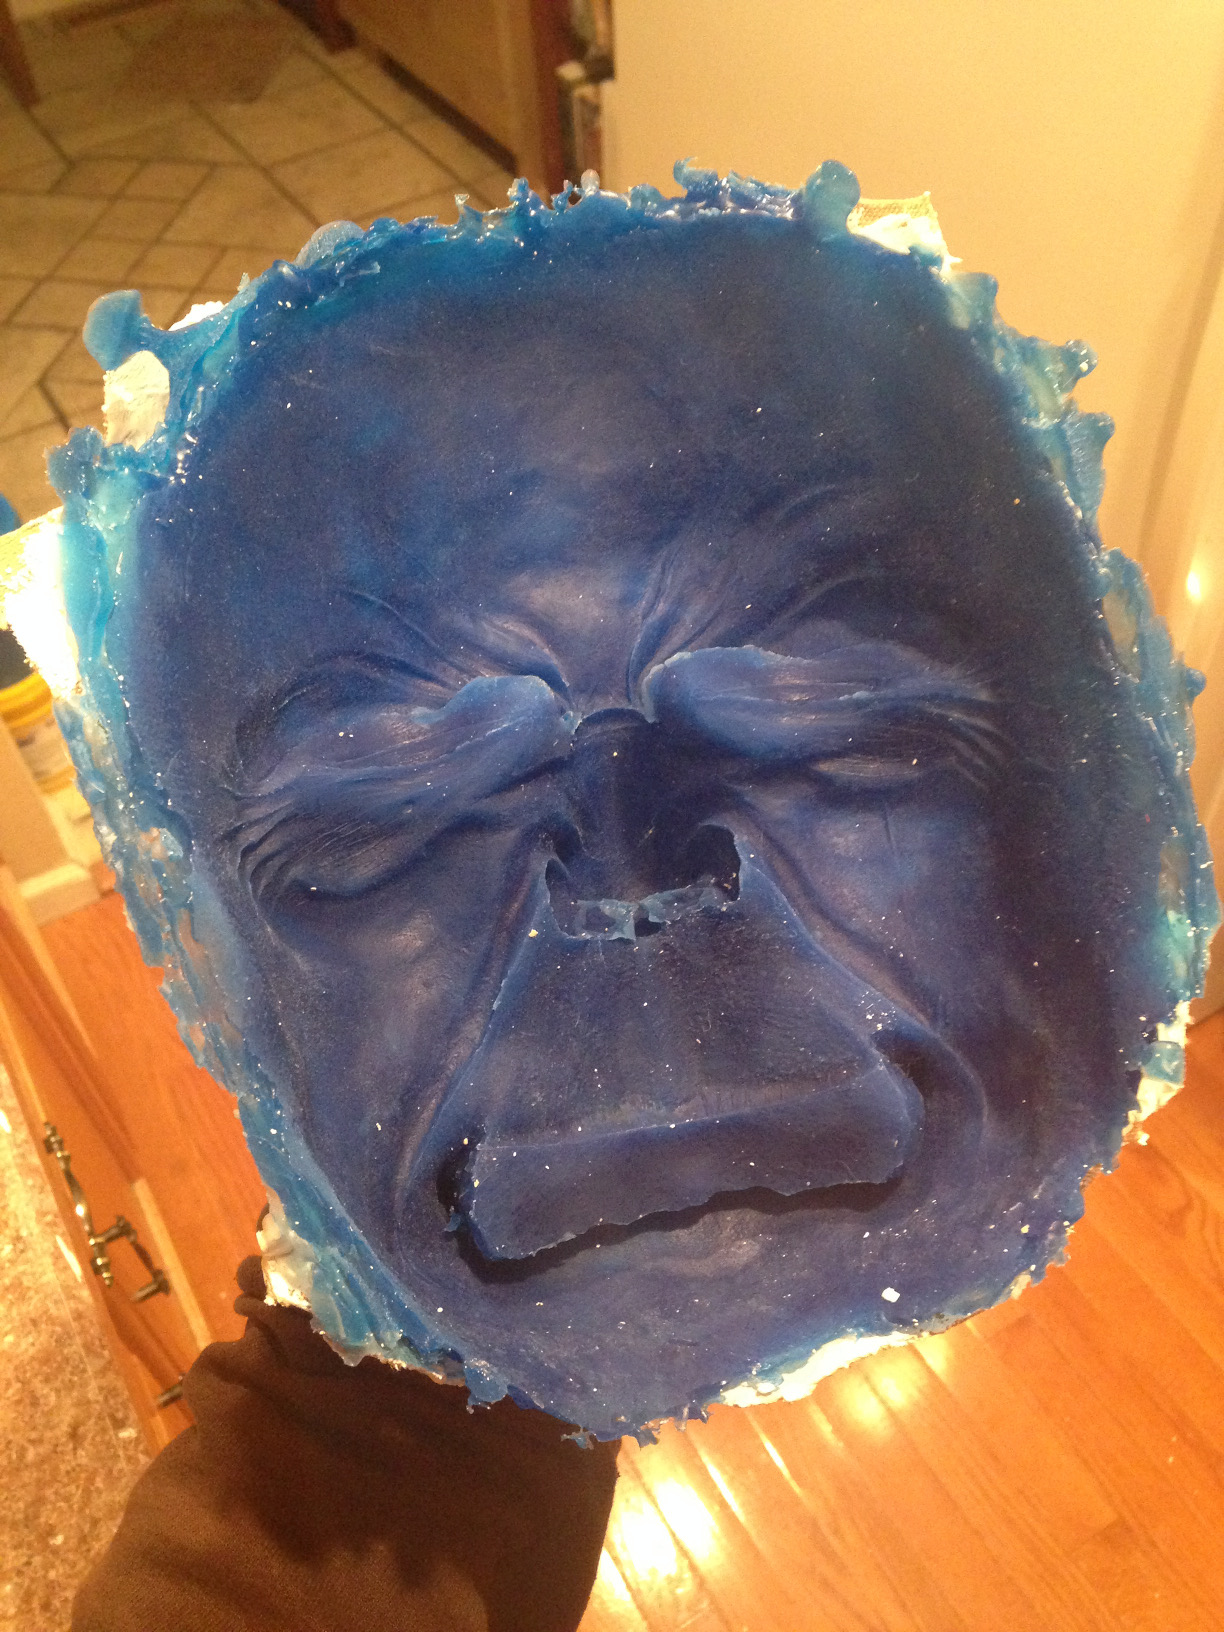
I started with a thin coat to capture the details. Dragon Skin is runny, so it can run into all the wrinkles and pores of the sculpted face. (Also, I added a touch of blue pigment to make it easier to see/work with the Dragon Skin).
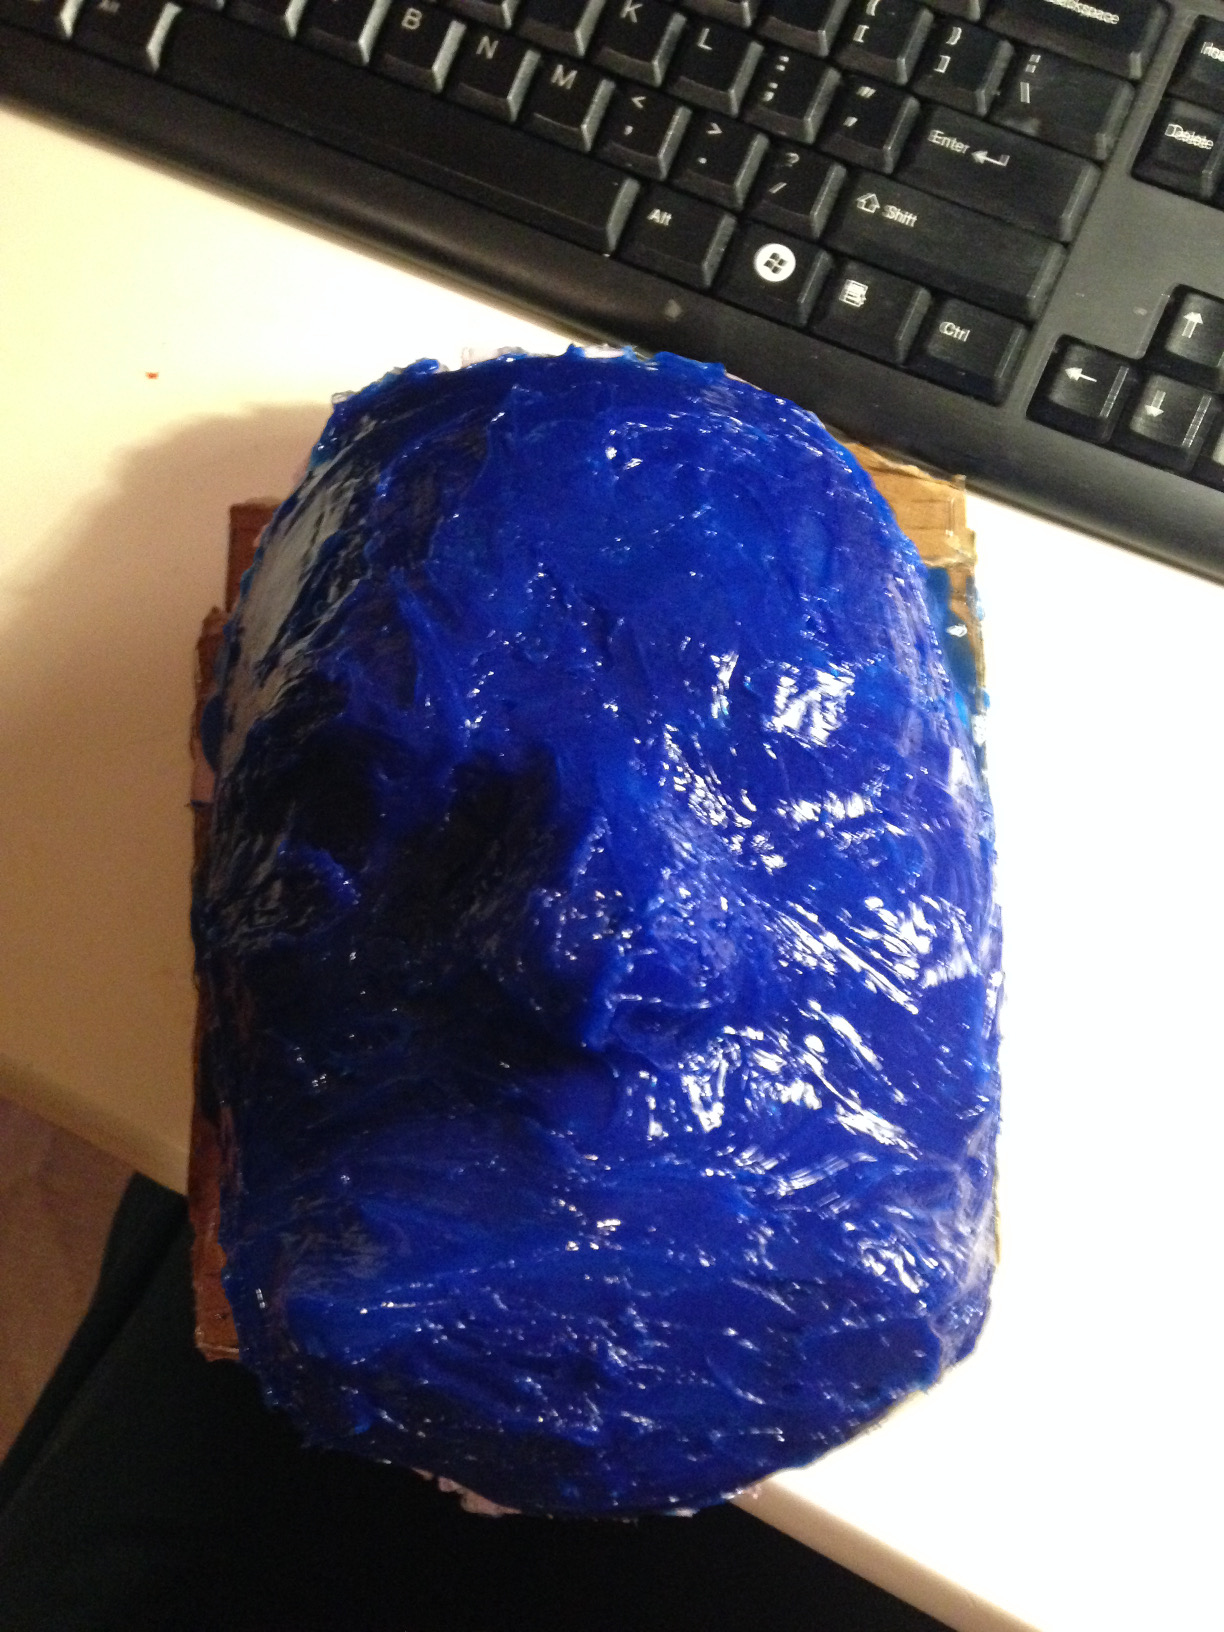
After this thin coat cured, I mixed up another batch and added a thickening agent called Thi-Vex. It thickened the Dragon Skin into a more paste-like texture, which makes it easier/faster to build up the mold. I applied the paste to the face in layers until I had a nice thick coating.
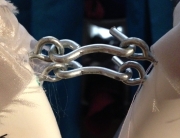
Like I mentioned above, to use a mold like this, you need some kind of rigid shell for it to be at all usable. Otherwise, it will be all wibbly wobbly (but not timey wimey), and will make your molded item all bent out of shape. To start the process of making a shell, I added registration tabs to my mold. These tabs make it so that the silicone mold lines up with its shell the same way every time.
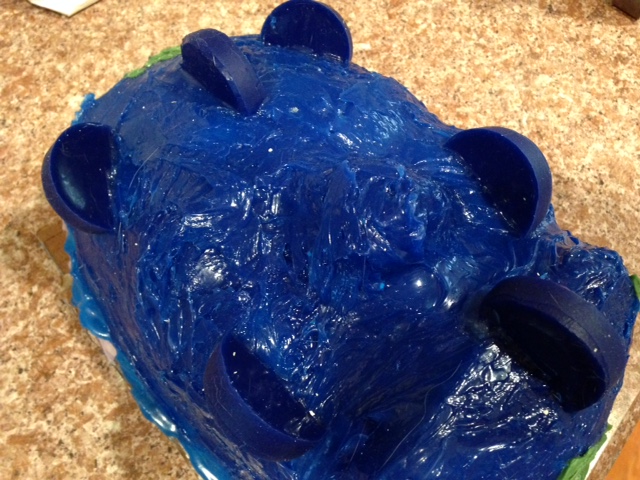
Once the tabs were in place, I globbed on layers of plaster. I know for a fact that there are far more sophisticated ways of making a shell, but this works for me for now.
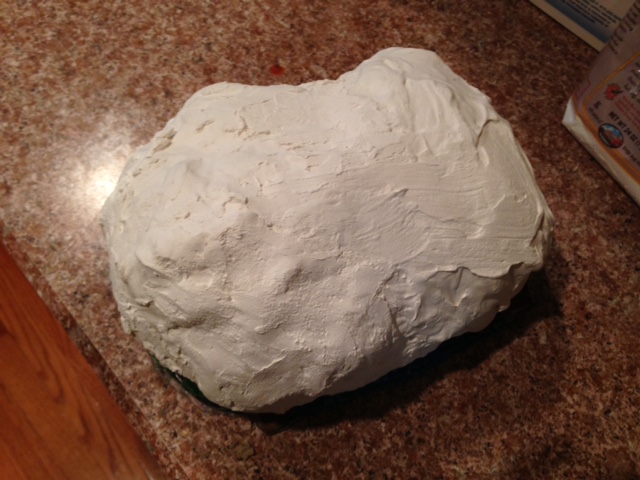
And, after removing everything from the sculpted face, we have this! Woot!
Next up in my adventures, making the prosthetic. Eep!
Until next time,
El 🙂


Leave A Comment
You must be logged in to post a comment.