By now, you have a PVC monstrosity that is probably taking over a large portion of your living space. Let’s talk for a moment on how to work on this thing without hating your life.
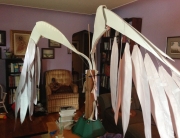
Behold! Our hacked together wing stand:
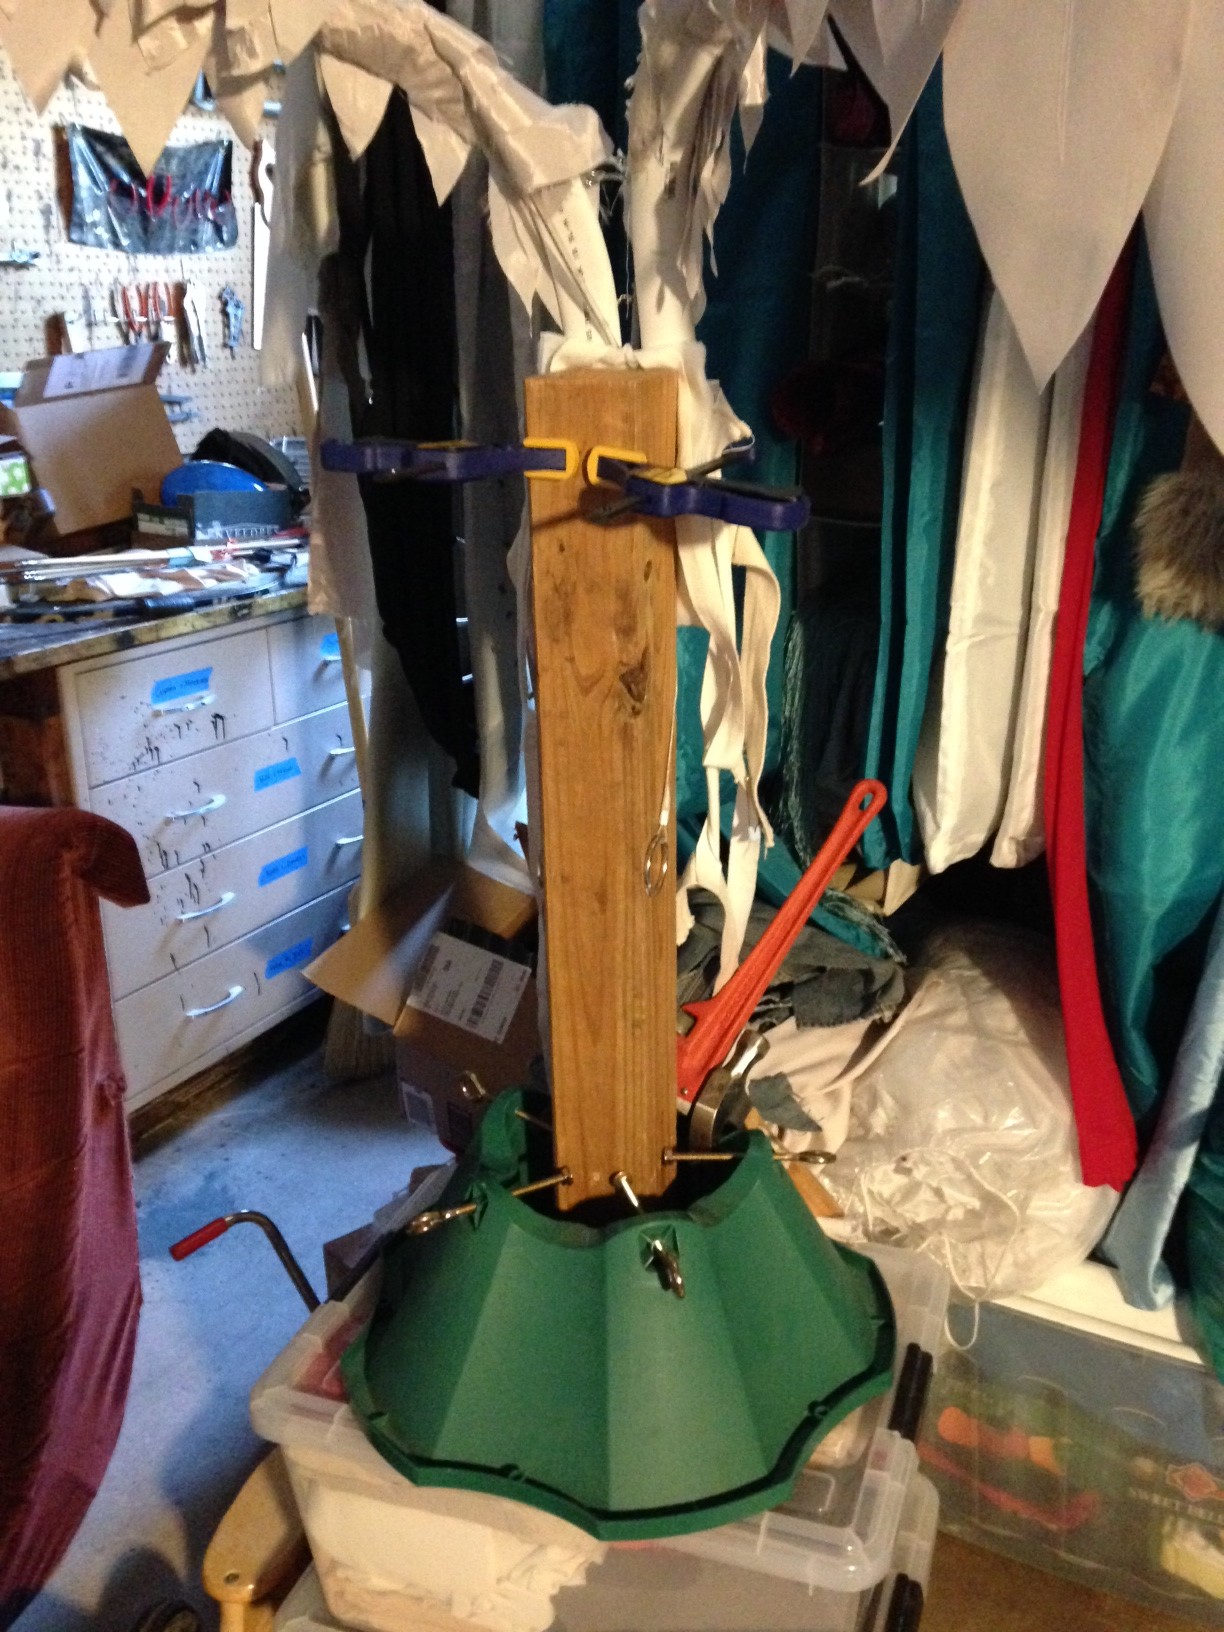
What you are looking at is:
- A Christmas tree stand
- a piece of 2×2
- two clamps
- and… something heavy
We had all this stuff lying around. Our piece of 2×2 was just some scrap lumber, and it was about 4ft tall. We had to put the whole thing on table so the feathers wouldn’t drag on the ground. But if you get a piece of 2×2 that is the same height as your lower back, you’ll be better off.
Tighten down the Christmas tree stand around the base of the 2×2 so it stands up straight. Clamp your PVC slots to the top of the 2×2 as tightly as you can. You can now slip your wing skeleton into the slots and work on the whole thing much more easily. Keep in mind that as you add more material to the wings, they will get heavier. We had to weigh down the base with whatever happened to be around so the whole thing wouldn’t topple over when the wings were extended. Notice the random tools stuffed in the back to the stand? Yeeeeah…
We’re (finally) on the home stretch for the wing structure. We’re going to talk about how to make the wings extend, and a bunch of fussy little details that make things better. First off:
The Mats
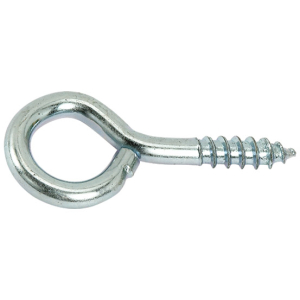
- 2 1/4 inch eyelet screws
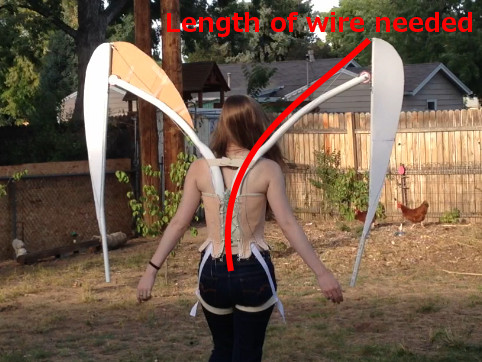
- 1/16th stainless steel wire cable. The length you need will depend on how big your wings are. You will want the wire to be long enough to go from the very top of the wing, along the inner part of the wing skeleton, and down to the small of the back.
Measure the distance marked above on your set of wings, add 6-8 inches (if not more) to make loops at either end to attach to the hooks/rings , and double it so you have enough for both sides.
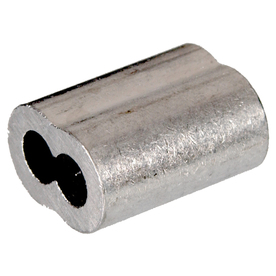
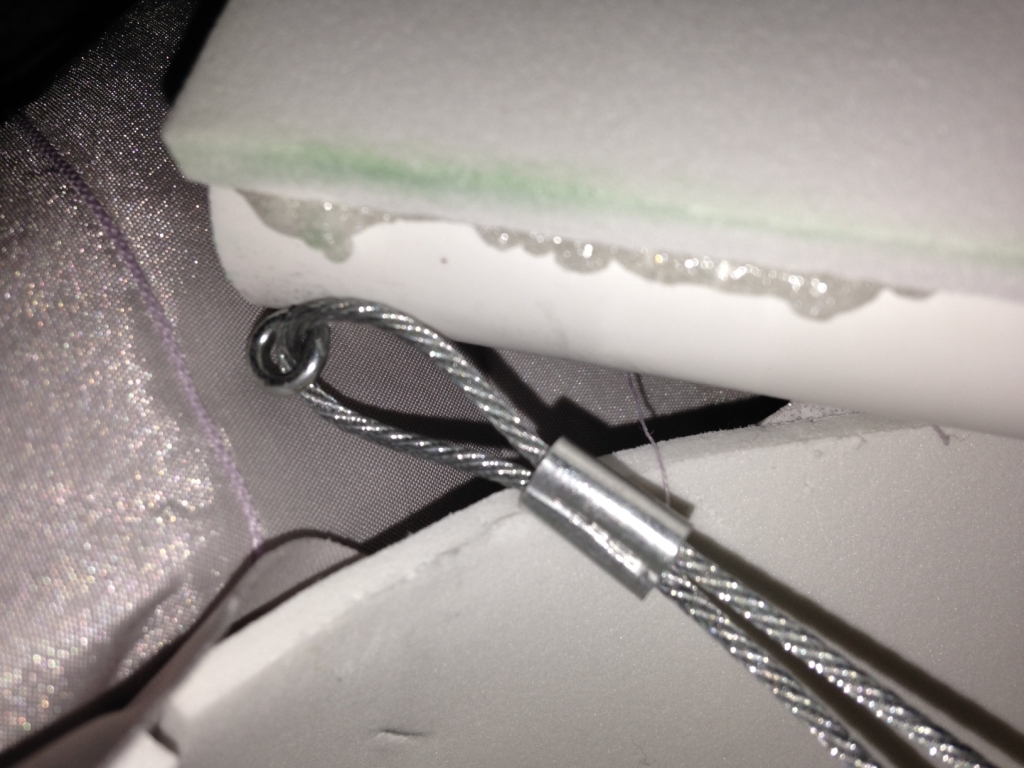
- 4 1/16th ferrules. In case you were wondering, this is a ferrule:
It cinches the wire together so you can create a loop. They usually come in packs of two, and you’ll be making a loop on each end of the wires for each side.
- 1/4 inch flexible plastic tubing. To make this easy, get the same length of plastic tubing as you got of the metal cord.
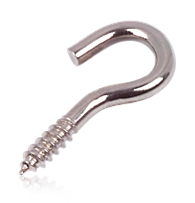
- 6-8 1/4 in cup hook screws (depending on the size and shape of your wings).
The hook part has 1/4 inch in diameter. The whole length of the hook/screw is about 3/4 in.
- 2 2 inch metal rings
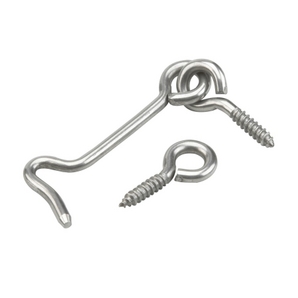
- 2 sets of 1 inch gate hooks with eyelets
- Two other screws. It doesn’t matter much what size they are. We just used two random screws we had lying around.
- A fast setting glue.
In my last post, I talked about a fix. When you sheath the lower part of the wing skeleton in the PVC slots, you’ll see a gap on either side in the slots. This is a problem, because it makes the wings all saggy and sad and unsecured. So, this is what we did about it:
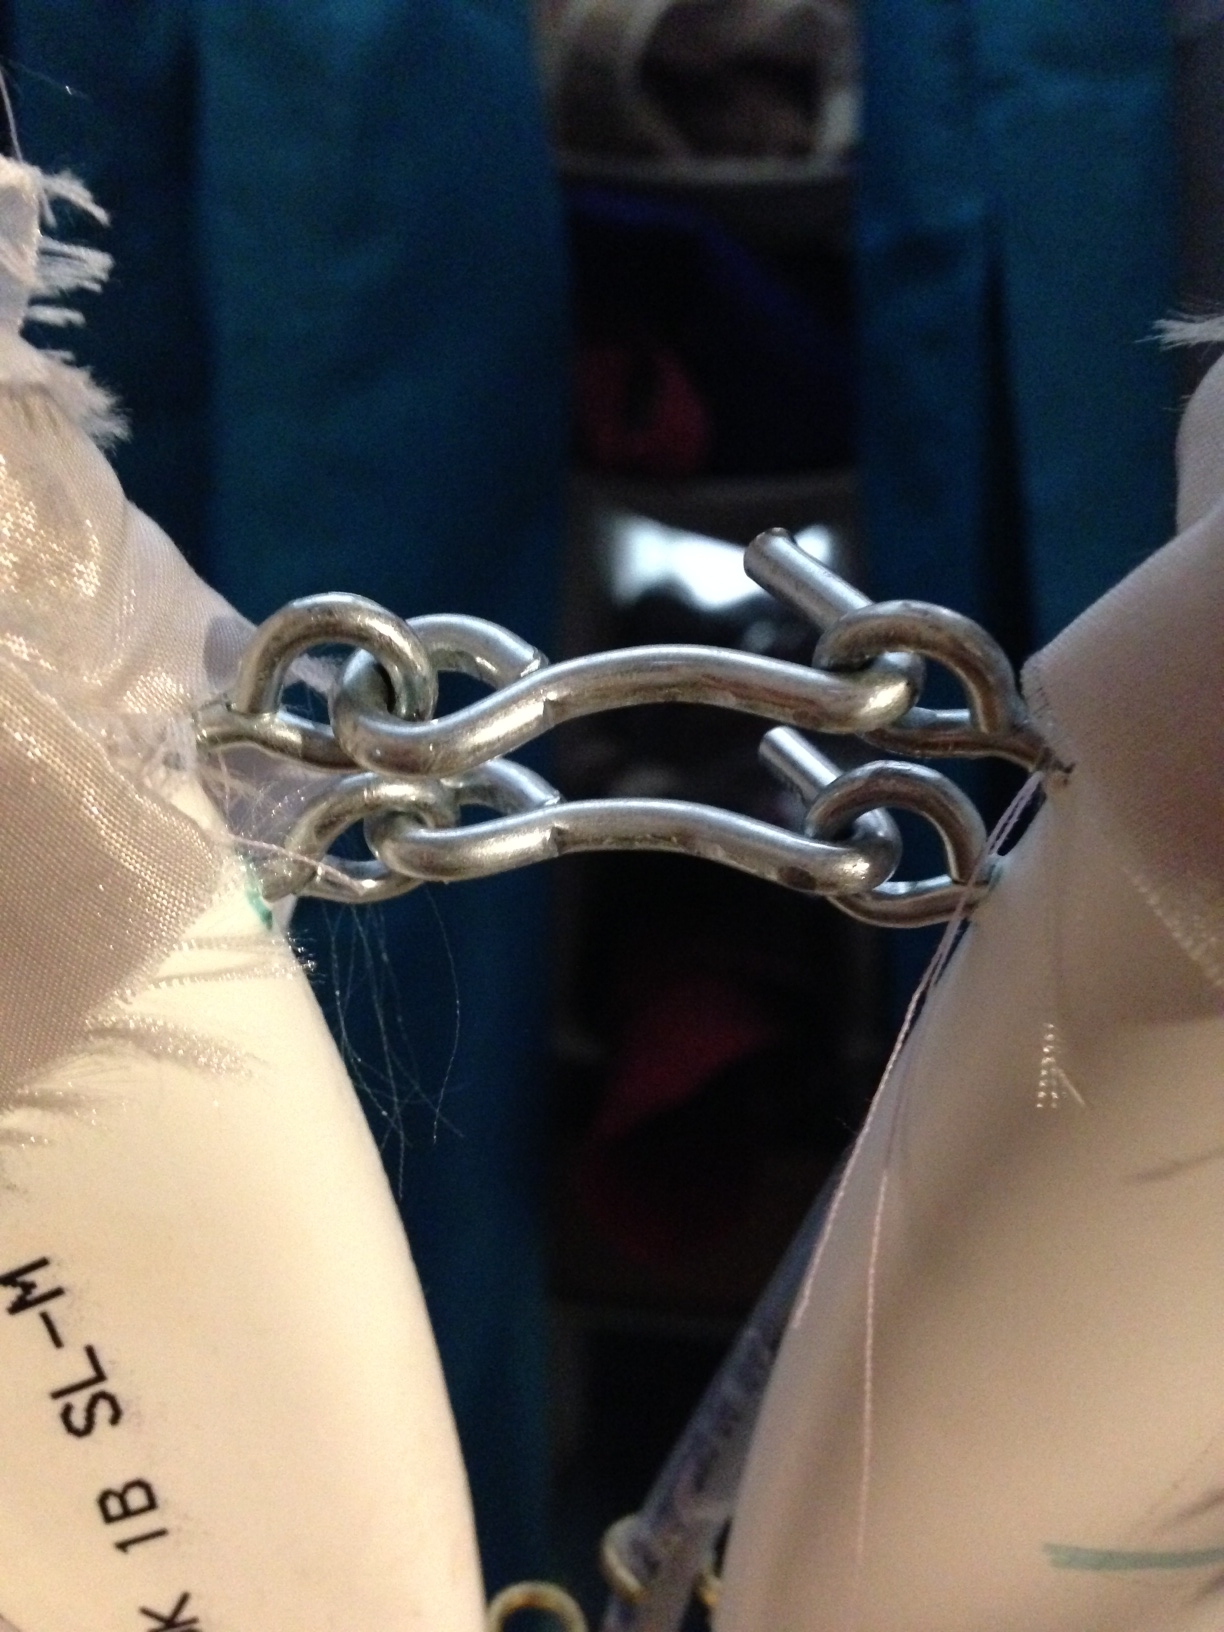
These are the gate hooks. Two hooks felt more stable than one. It’s a pain to get right, but it makes the whole thing feel a lot more secure on your back. Ideally, the force of the wings pulling apart should be evenly distributed across both gate hooks. You’ll have to screw them in. Hook them both. Test to see if one is too loose. Unhook them both. Screw the loose one in a little deeper. Hook them both again. Test again. Unhook. Adjust. Etc. This is where the hacked wing stand comes in REALLY handy.
The result of the gate hooks:
Notice how the gaps are on the *outer* edge of the PVC slots.
Wiring up the wings
So, the roller skate wheel in the joint creates a lever. Now we’re going to attach the wire to it to pull down on the lever. You’ll do this same process for each wing.
Attached one of your eyelets to the underside of the outer wing section. Then, loop your metal wire through the eyelet and use one of the ferrules to cinch it into a closed loop, like so:
Make sure that the ferrules is cinched as tight as possible. If it breaks, it’ll be close to impossible to repair on the Con floor.
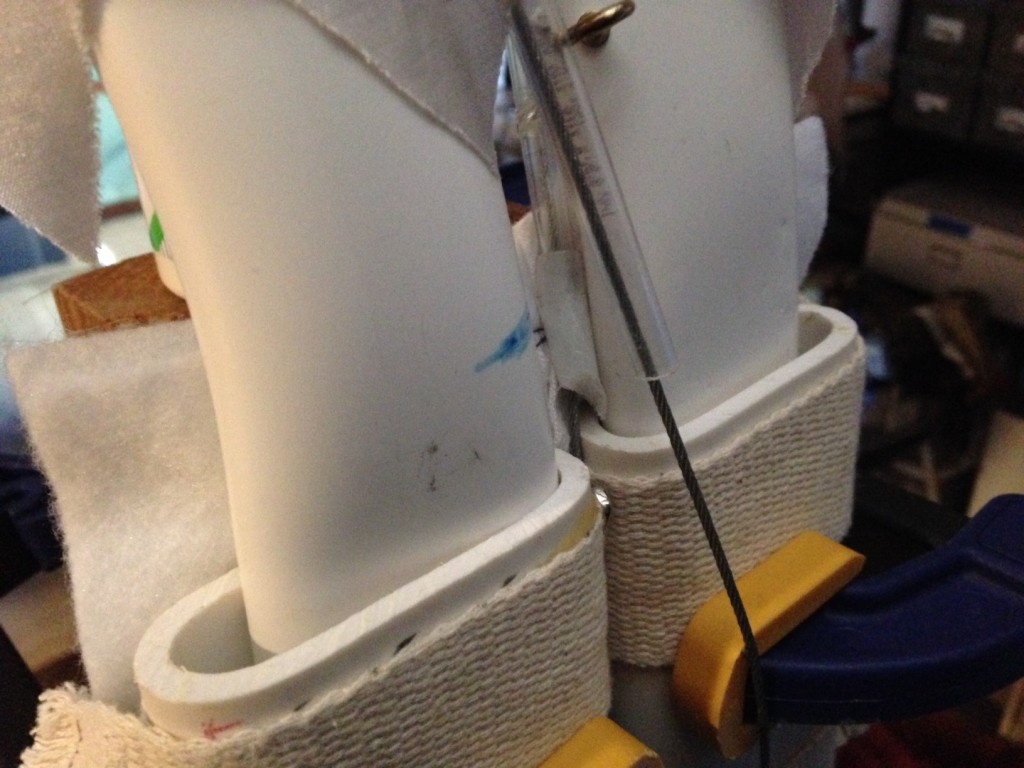
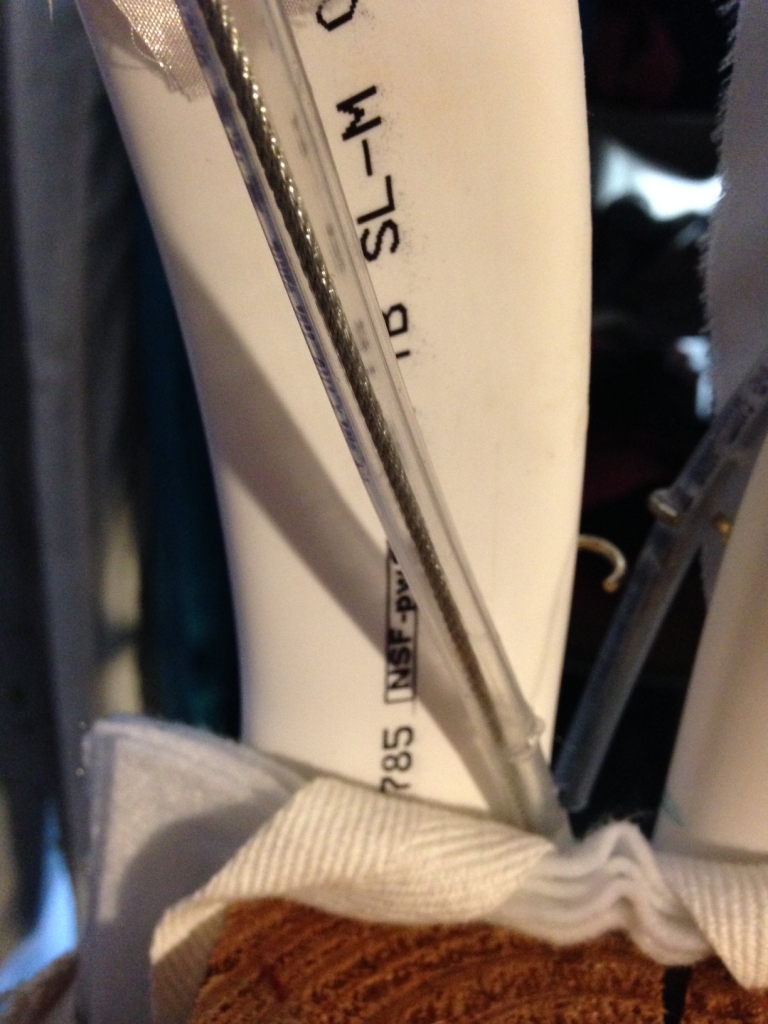
The next thing that you’ll do is create a “channel” to get the wire from the wing joint to wherever you’d like to pull it – in our case, the small of the back. Take your 1/4 in plastic tubing, and thread the wire through it.
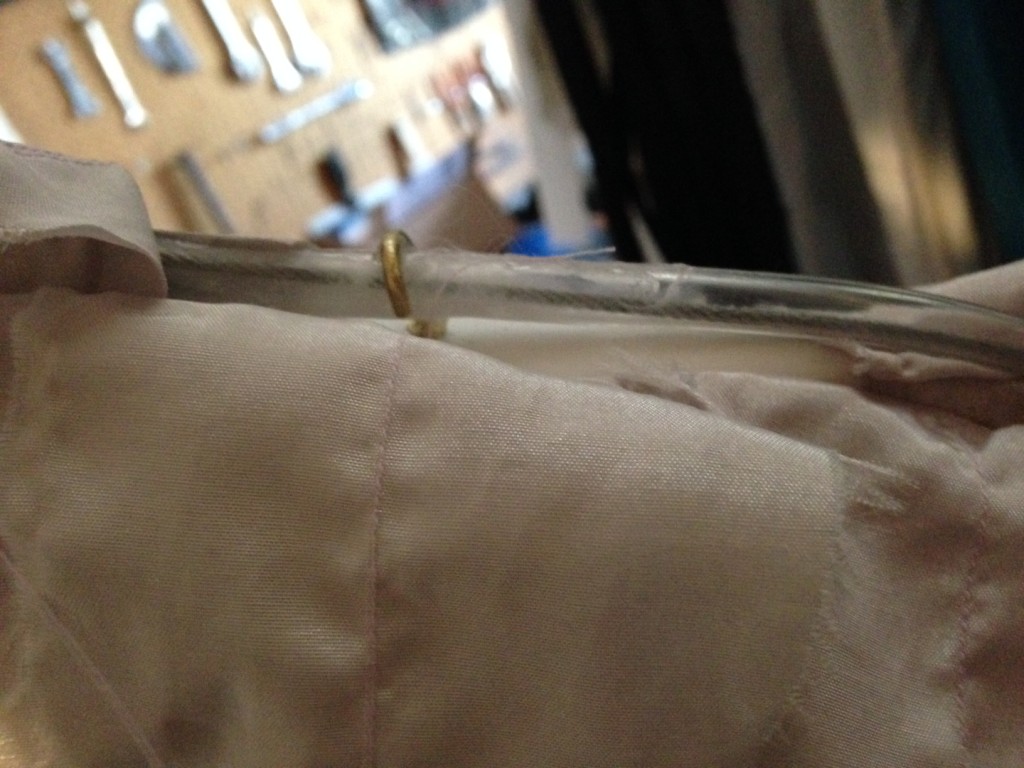
Next, you’ll want to screw in the 1/4 in hook screws into PVC along the path that you would like the wire to follow. These hooks will hold the 1/4 in tubing against the wing skeleton to channel the wire to where you want it to go and prevent it from getting in your way. Like this:
And this:
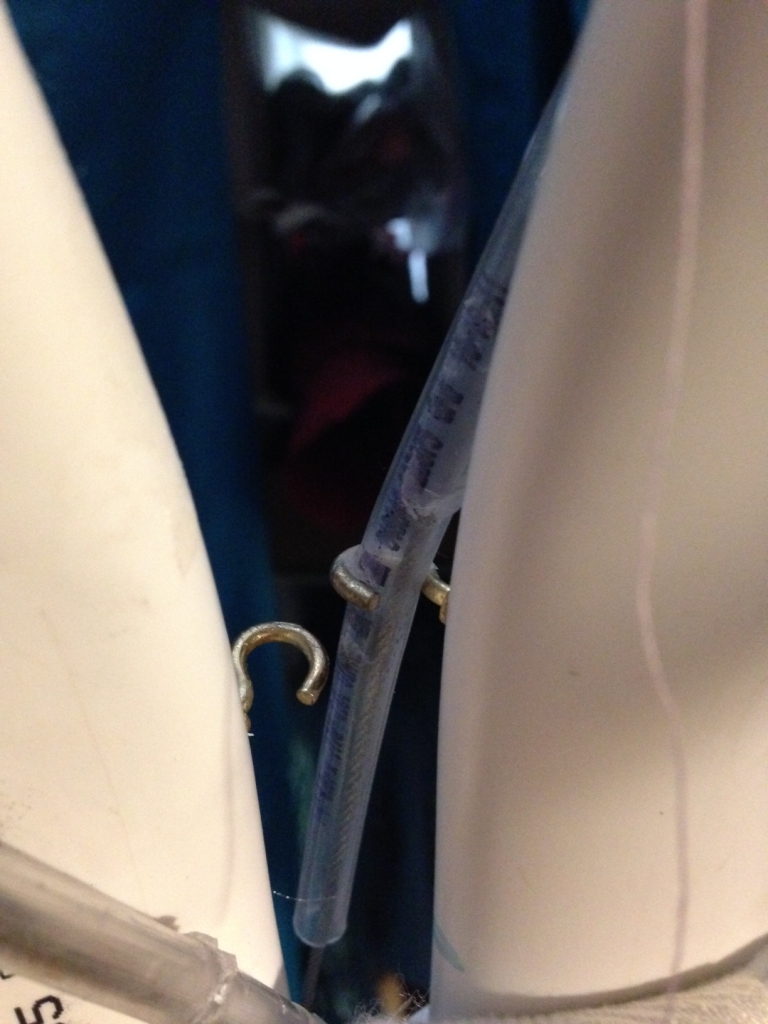
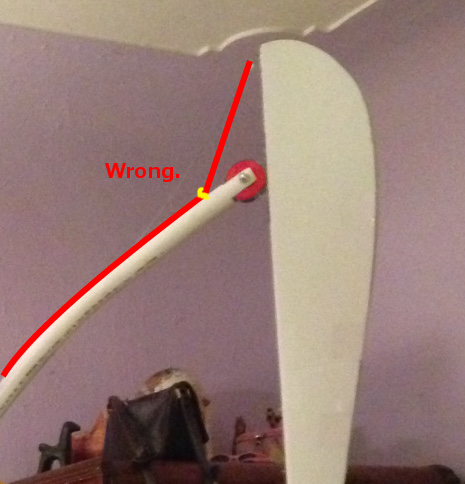
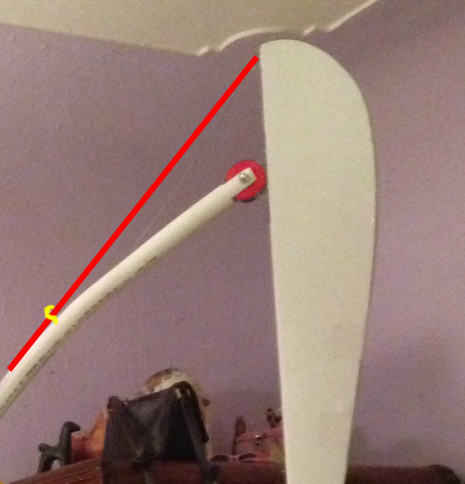
An important note: you do not want to create a sharp angle between the wing joint and the rest of the channel, like this:
Making a sharp angle puts too much stress on the wire, pushes it up against the tubing, and makes it hard to move. Instead, you’ll want something more like this:
For the rest of the hooks, you can space them at regular intervals along the edge of the wing. You don’t need too many; you just need enough to direct the cord and tubing toward the PVC slots at the back of the harness. Once all the hooks are in, push the plastic tubing into the hooks, and glue them in place.
Pull on the wire, and make sure things move the way you want.
At the bottom of the wire, you’ll want to loop it around your 2 inch metal ring. This is the thing you’ll be pulling on. We found that 2 inches was big enough to be pretty easy to find and slip a thumb through to pull on, especially when the pull cords are on your back. Again, make sure the ferrules are tight. These ones will be easier to fix if they break. We wrapped the ferrules in tape to prevent any pokey wire bits from snagging on Angela’s skirt.
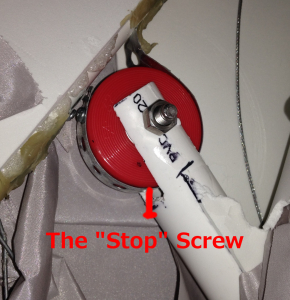
Now, as your testing how the wings move, you may notice them rotating too far when they come down and smacking your sides. This is where the two random screws come in handy. We used those screws to make a “stop” on the roller skate wheel. Screw in the screw so that it sticks out and catches on the “yoke” of the inner wing PVC. This will prevent the wings from rotating too far due to momentum.
Sweet! The basic structure is done! It’s almost time for feathers. But there’s still one more final structural detail to cover: how to disguise the wing joint. But seeing as how this post is already 1180 words and counting, we’ll cover that in the next post.





This tutorial is perfect, I can’t wait for the next part! This will be totally perfect for my next project. 😀
Thanks!! 😀
Just posted part 5: http://laureltreeworkshop.com/cosplay-how-to-articulated-wings-part-5
Woot!
Hello! I was wanting to ask how you cinched the ferrules? I thought maybe thin pliers would work but I’m not too sure. Thanks!
Hi there! There are special pliers designed to cinch ferrules, but the easiest way (without buying special tools) is to use a flat-head screw driver and a hammer. Line up the screwdriver in the crease on the side of the ferrule, and smack the handle of the screwdriver as you would on a chisel. A few solid whacks did the trick for me!
– El 🙂